
Incorporating strengthening exercises will prepare your wrists for all yoga positions and reduce the risk of strain.
Yoga poses that are excellent for strengthening your wrist muscles:
The easy crow pose

Go easy on this one, though, as although it looks simple, it is tough to maintain over a long period, so try doing it gradually – you don’t want to strain your wrist while attempting to strengthen it!
This arm balance pose requires a lot of core strength to carry out. Gradually building up to holding the easy crow pose for longer will strengthen both your core and your wrists.
The upward plank pose

The upward plank pose can be a bit strenuous, particularly at the end of a yoga workout, but it is worth doing to build wrist strength.
If the upward plank feels like too much for you, try doing an upward tabletop pose instead.
The high plank pose
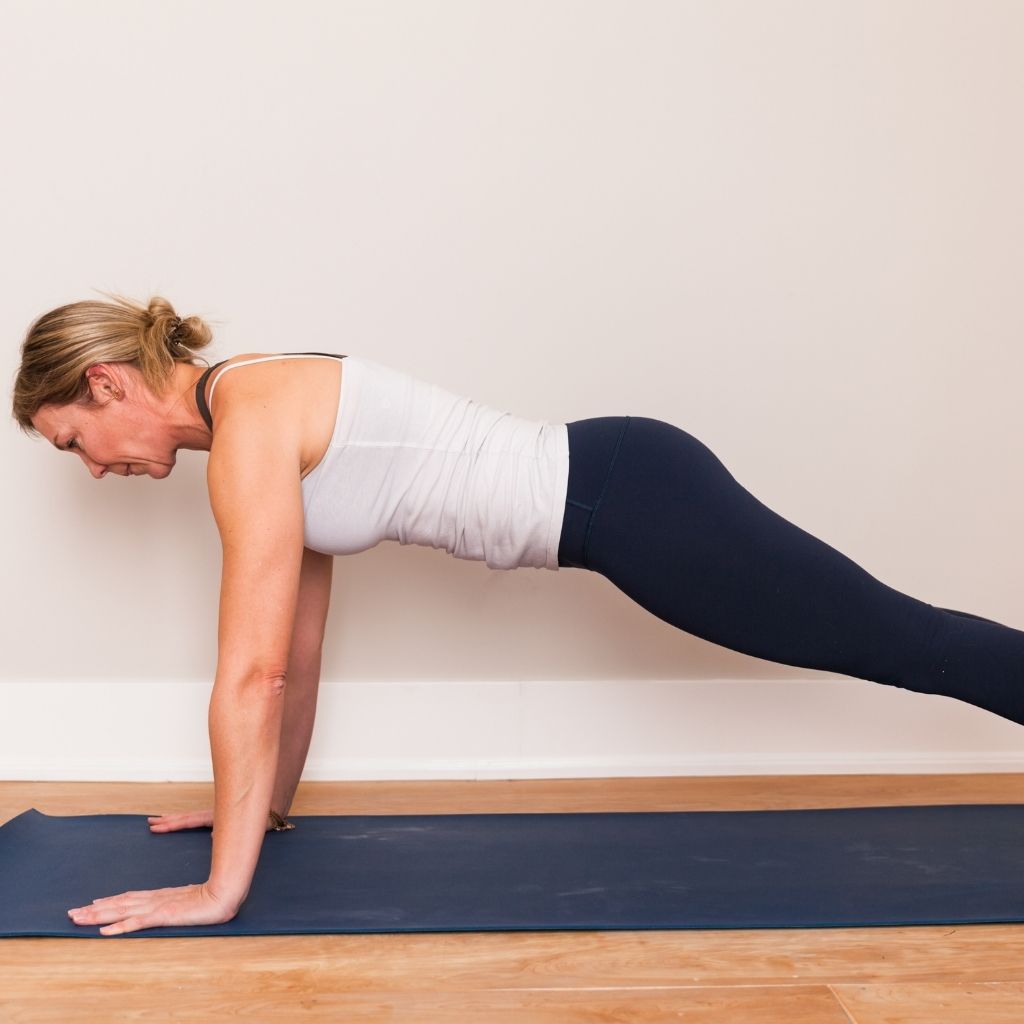
The high plank pose applies the maximum amount of pressure onto your wrists without causing strain and is, therefore, an excellent pose to do to build wrist muscles.
Alternatively, you could introduce such exercises as ball squeezing, towel wringing, and wrist curling to build up muscles in the critical areas of the wrist.
If you’re noticing recurring wrist pain, you’re going to want to do all you can do to protect your wrists during yoga workouts. Implementing adaptations to your yoga sessions can make all the difference and save you from suffering from long-term wrist pain.
When performing a particularly complicated yoga position, such as the downward-facing dog, although we’ve recommended that you should keep your hands flat, it can be tough to keep this in mind. Instead, you could adopt this position by leaning on your fists, which is much better for your wrists and is far more difficult to slip out of than flat-handed.
On top of building up wrist strength, you should also be building up strength in your core. If you do not have a strong core, you will naturally rely on your wrists to support the rest of your body, making the whole exercise more challenging while potentially damaging your wrists.
You should aim to implement as many core-building yoga positions into your routine as possible, specifically ones that do not involve putting strain on your wrists.
Recommended core-building positions include:

The victorious warrior pose

The chair pose

The dolphin plank pose

And the boat pose
Introducing props into your yoga routine is another tried and tested means of keeping your wrists protected during an intense workout.
On top of wearing a wrist wrap or brace, you could invest in a foam block or wedge, which takes a considerable amount of the pressure off your wrist, while also allowing you to complete the yoga move unimpeded.
Kneepads are also an essential prop if you want to ensure your wrist stays supple. Not just for your wrists, yoga mats are great to keep all your joints in check.
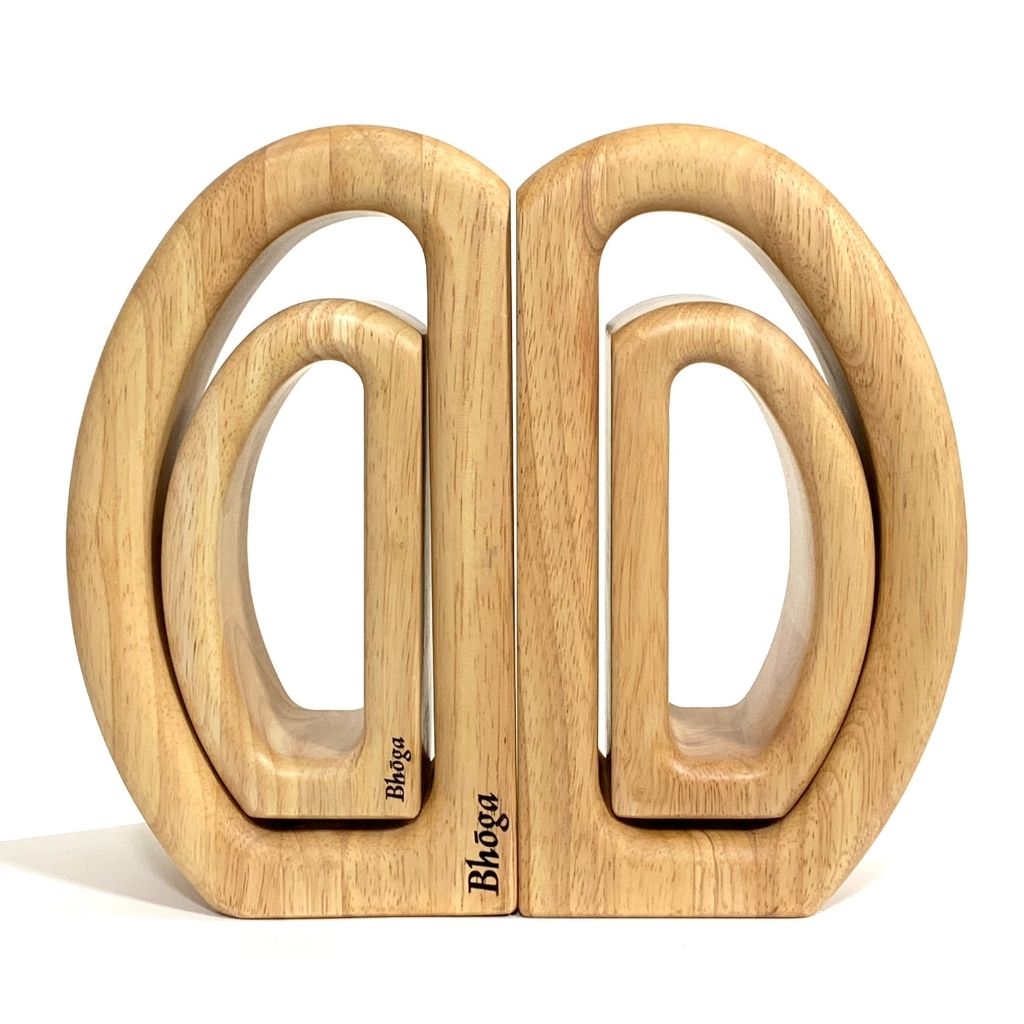
Props such as push-up wheels and barbell blocks could also work as suitable yoga props. These are, in fact, perfect for such positions as chaturanga and plank as they keep your wrists pressure-free and neutral for the duration.
The best yoga props for wrist pain
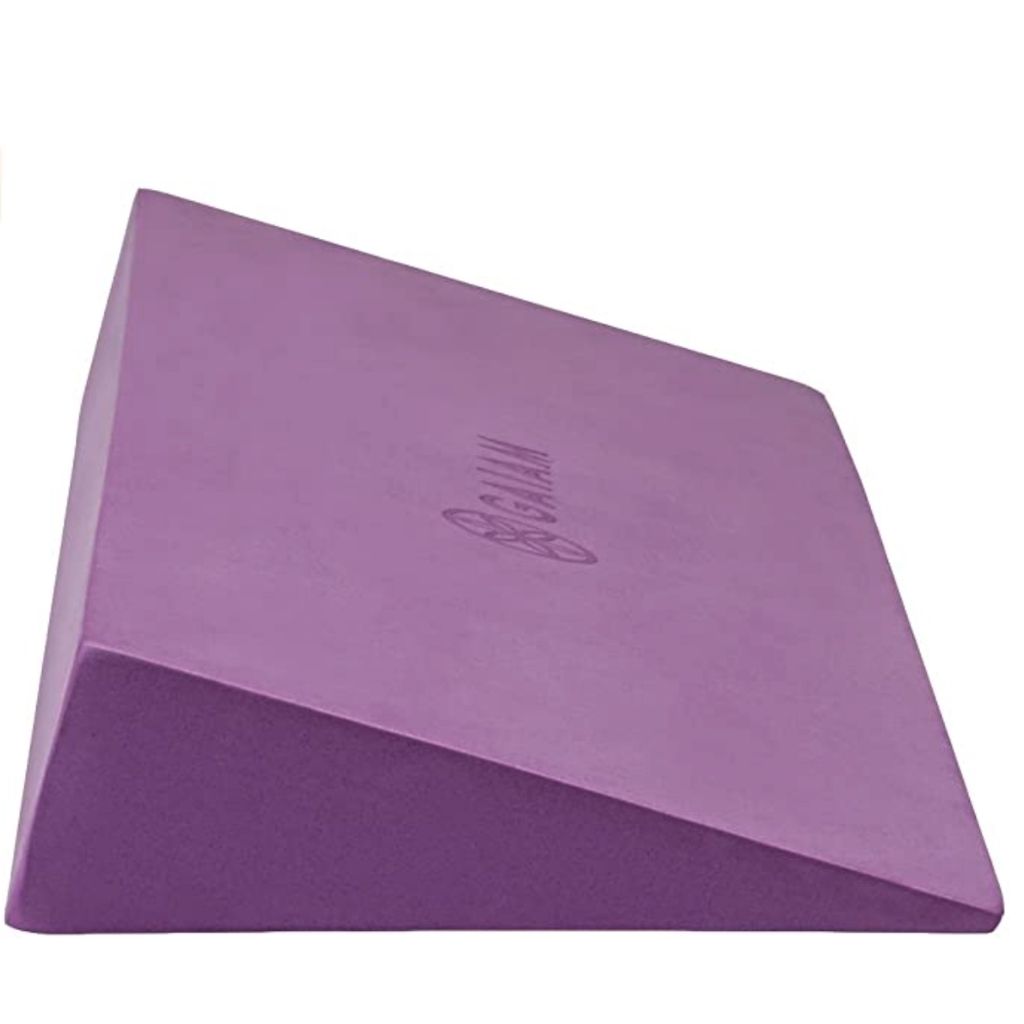
Gaiam Yoga Block Wedge – Buy it here

Gaiam Cork Yoga Brick – Buy it here

Generally, mudra hand gestures guide energy to certain parts of your body and are used alongside pranayama.
Mudra can also be a suitable means of preventing and alleviating wrist pain and should be implemented into your yoga routine for this reason.
The best Mudra hand positions for wrist pain include:

Apana Mudra

Ganesha Mudra

Buddhi Mudra
To get the most out of mudra, try holding one hand position for ten breaths, and then switch to another one and hold that for ten breaths, and so on.
Mudra chain exercises are mainly devised to reduce pain felt in the wrists and require a mudra chain to be performed.
Rub the mudra chain over the parts of your wrist that have felt the most strain from the yoga session. If the mudra chains are working correctly, they will produce a pleasant sensation on your wrists.